Paper Plane: The Interceptor
Learn how to make one of the most basic paper airplanes in this easy tutorial.
Beginner
The Interceptor is one of the most basic paper airplanes you can make. It is just a slight variation on The Basic Dart that everyone knows how to make. By incorporating an extra fold in the nose, The Interceptor has more stability and is a very good glider.
Materials Needed
- A sheet of 8.5 x 11 inch paper
Steps
-
Start with an 8.5 x 11 inch piece of paper
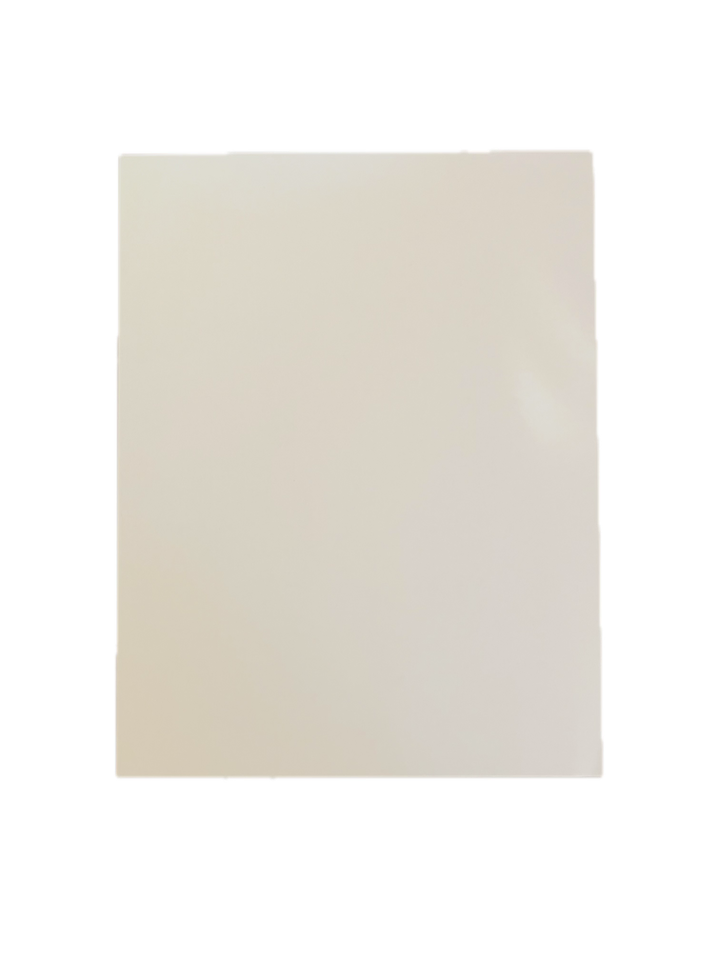 Printer paper works really well for paper airplanes. Be sure not to use paper that is too heavy, as it will impact the performance of your aircraft.
 -
Fold the paper in half
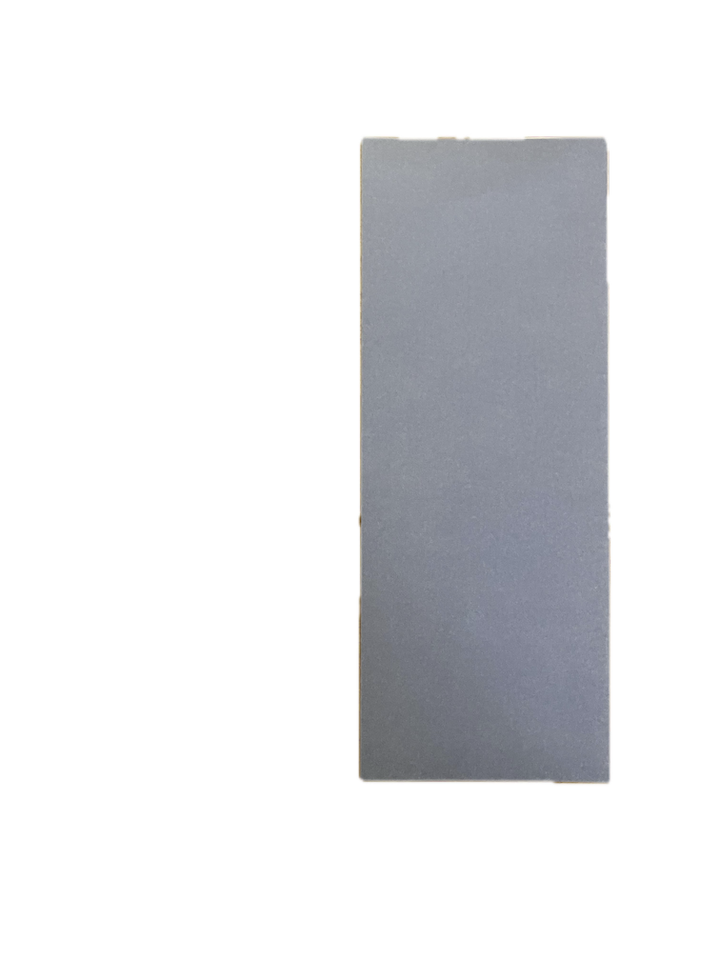 Fold the paper in half lengthwise. Crease well, then unfold.
 -
Fold the top corners to the center
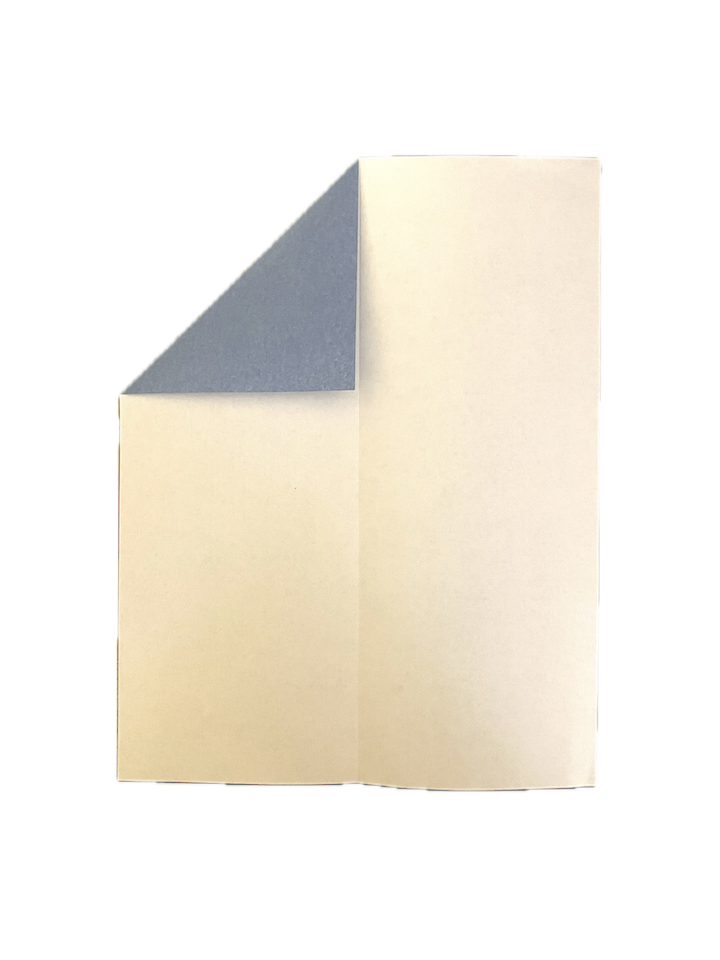 Take the top left corner of the paper and fold it down to the center crease you just made. Repeat with the top right corner.
 -
Fold the new top edges to the center
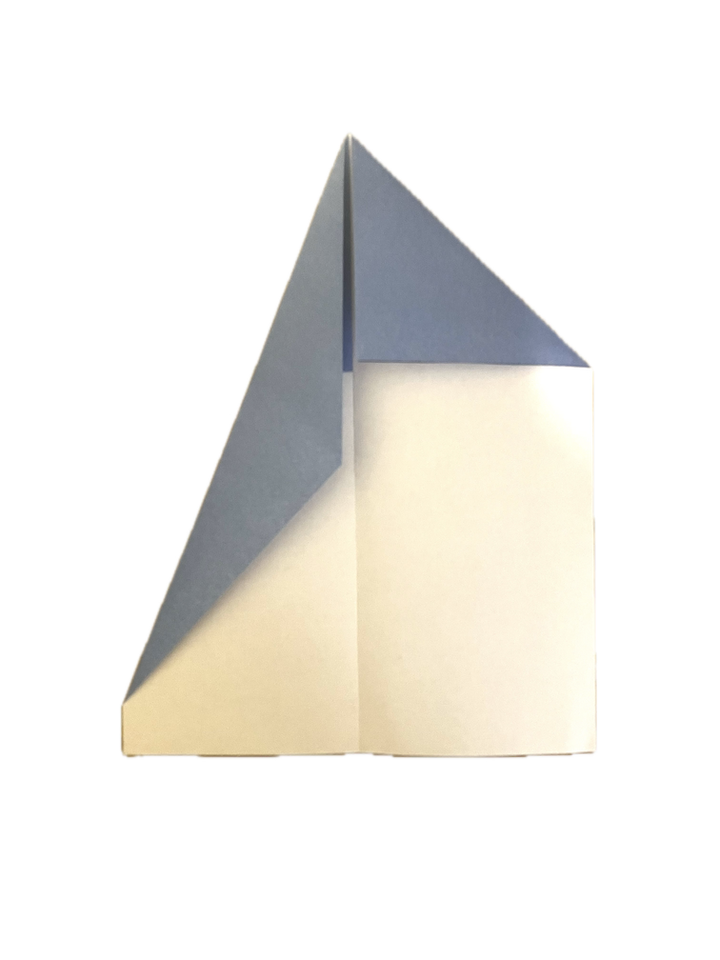 Fold the new top left edge to the center crease. Repeat with the top right edge, making sure to crease all folds well.
 -
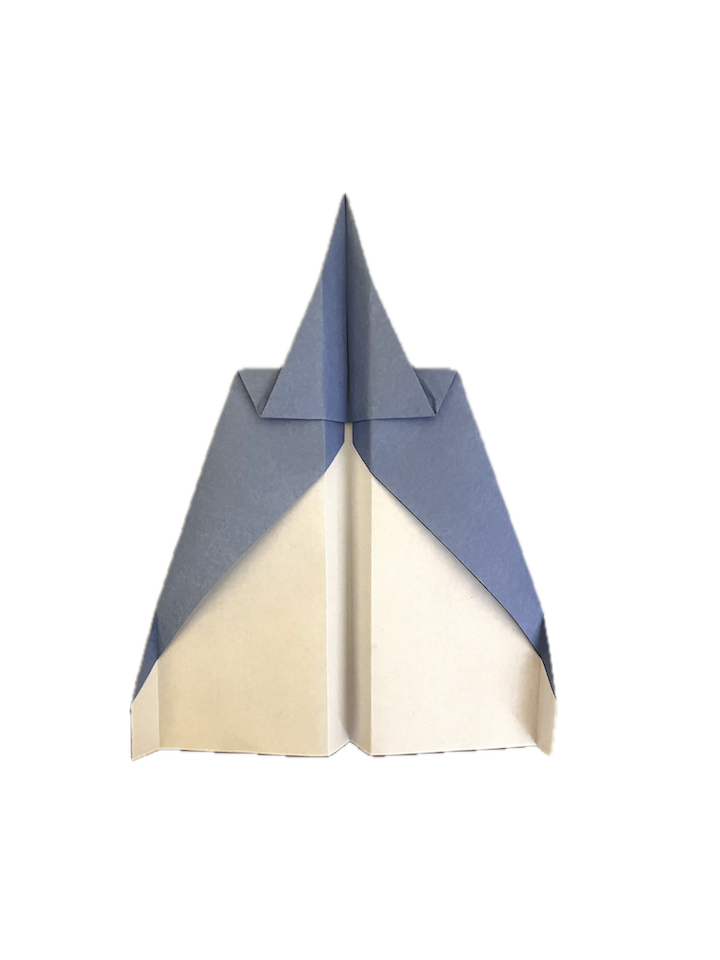
Fold the nose down
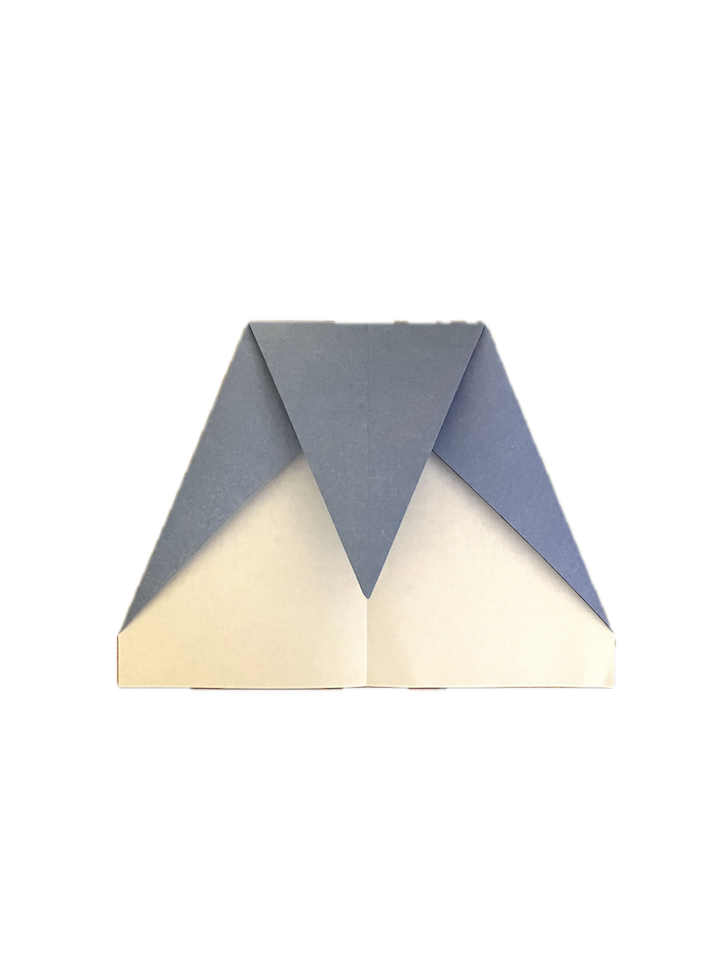 Take the nose and fold it down, lining up the tip with the centerline.
 -
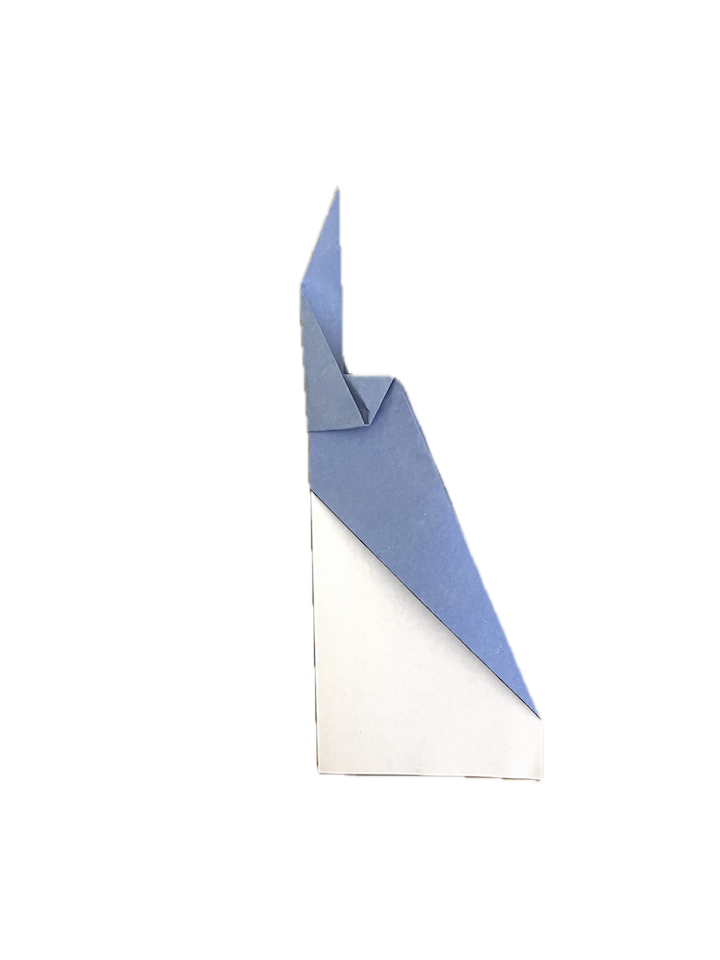
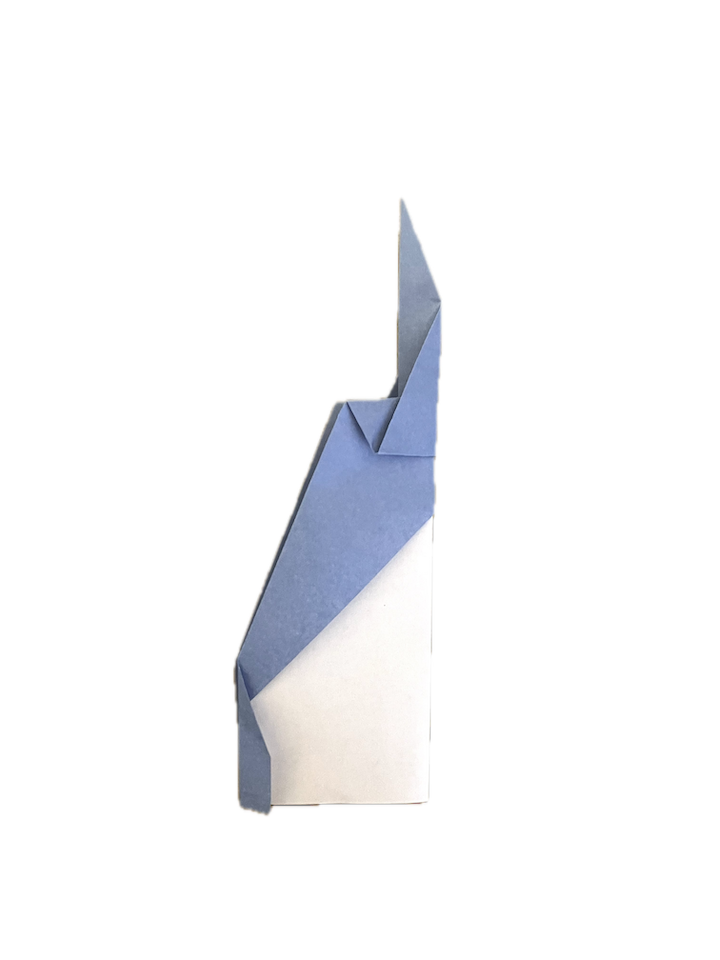
Fold the nose back up
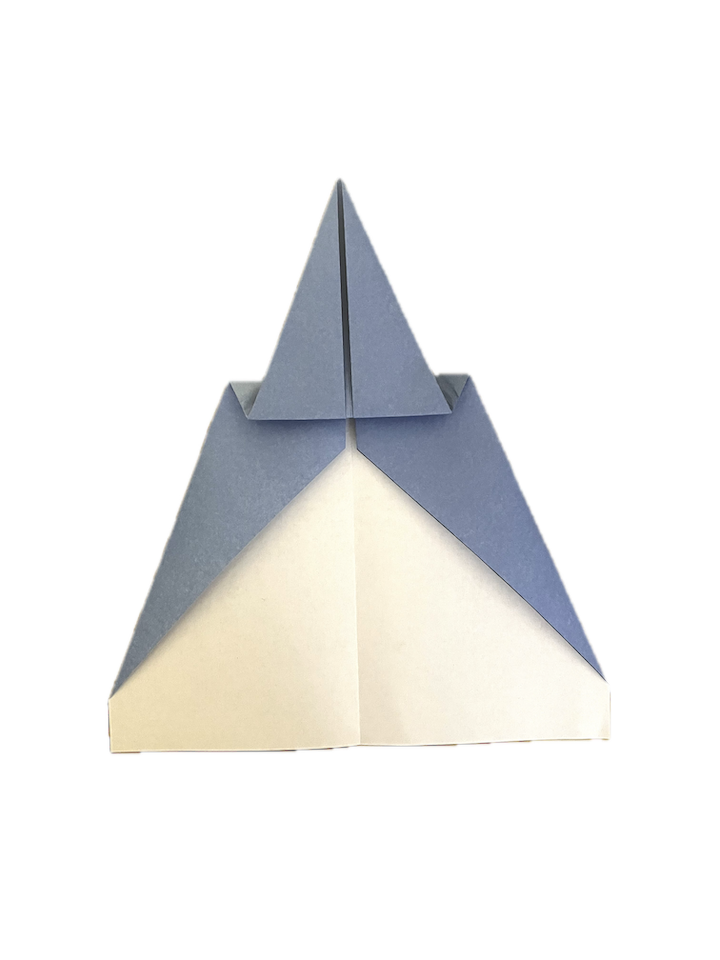 Fold the nose back up, but just a little under the crease you just made so that the nose is now set back about an inch or two.
 -
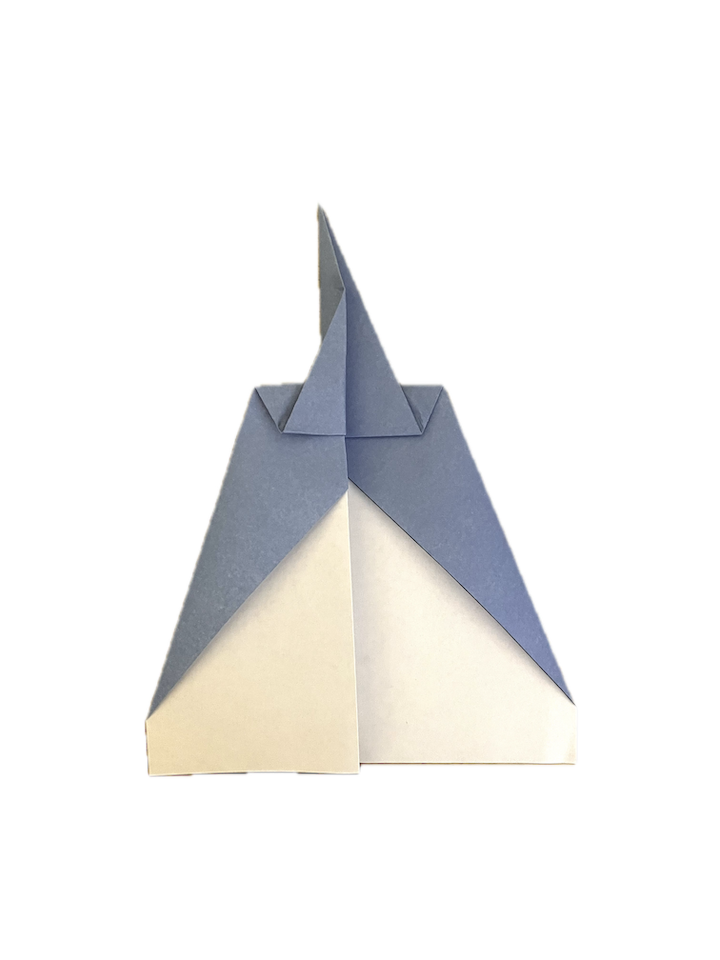
Fold the plane in half
 Fold the plane in half along the center crease you made in the second step.
 -
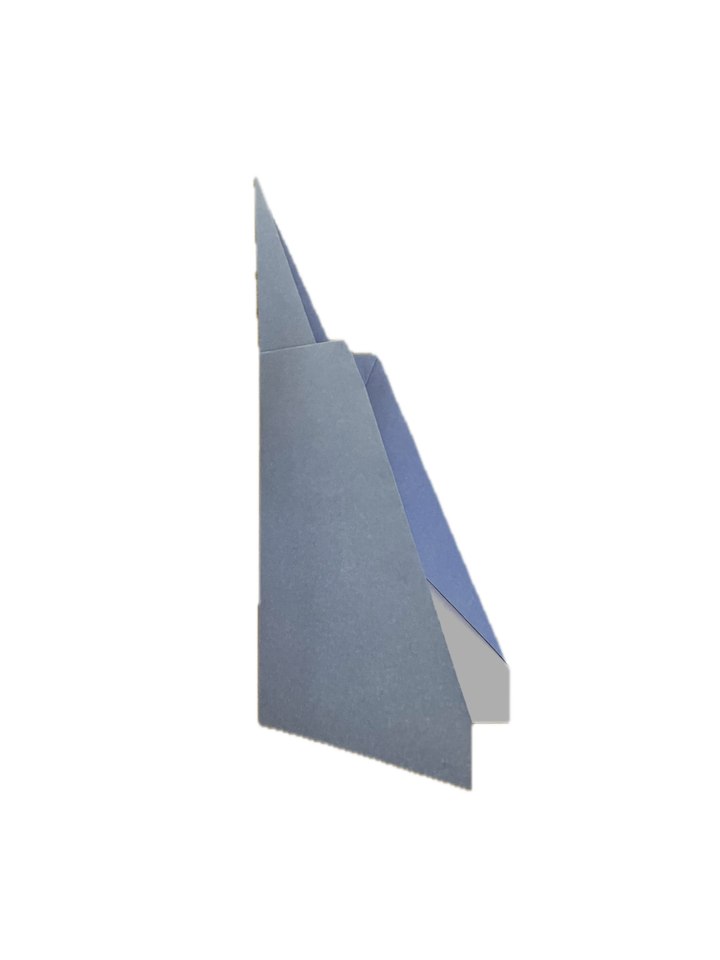
Fold the left wing
 Fold down one wing of the plane. Leave between half an inch and an inch of body to hold on to when throwing. You can make a slight angle so the nose is shallower than the tail, but it’s not necessary.
 -
Fold the right wing
 Flip the plane over and fold the other wing. Make sure to line up the wings exactly so they are symmetrical.
 -
Fold winglets (optional)
 Fold up about half an inch on the tips of the wings to make winglets. While not necessary, winglets add stability to the aircraft and will help it to fly straighter.
 -
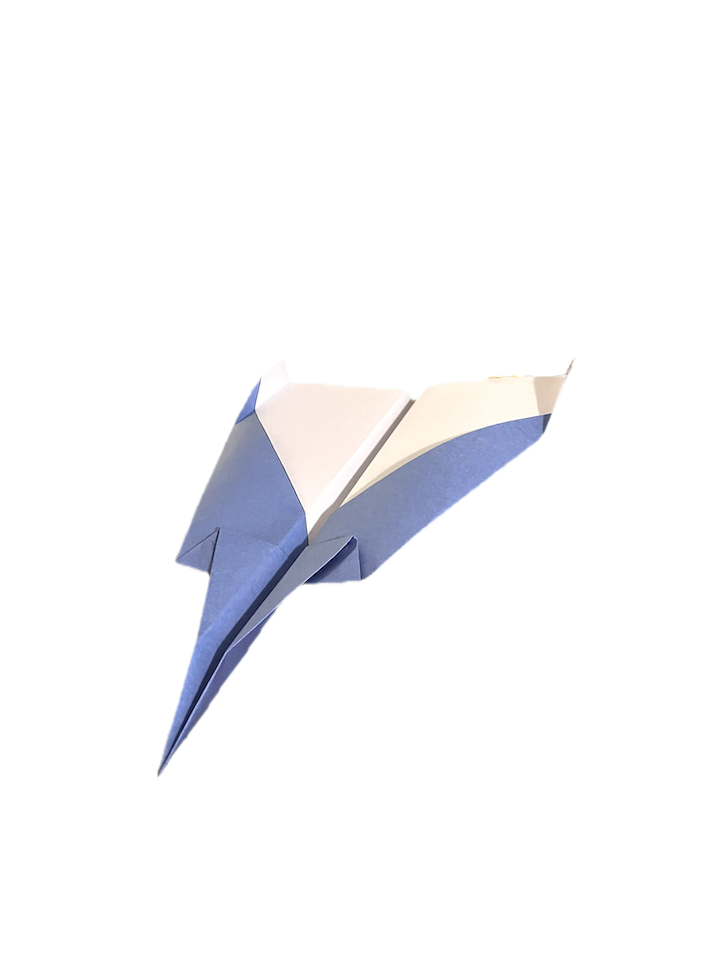
Unfold the wings
 Unfold the wings slightly above horizontal, giving them a slight Y shape. This is called camber, and helps the plane to stay level.
 -
Test fly and trim
 Congratualtions! You now have a basic paper airplane! The final step is to trim it so it flies straight and level. Test fly the plane and pay attention to how it flies. It likely won’t be perfect the first time. You can adjust the flight of your plane by pinching the back of the wings up or down. If your plane nose dives, you need “up elevator.” If it climbs and stalls, you need a little “down elevator.” Continue throwing, watching, and adjusting your plane until you have it dialed in.